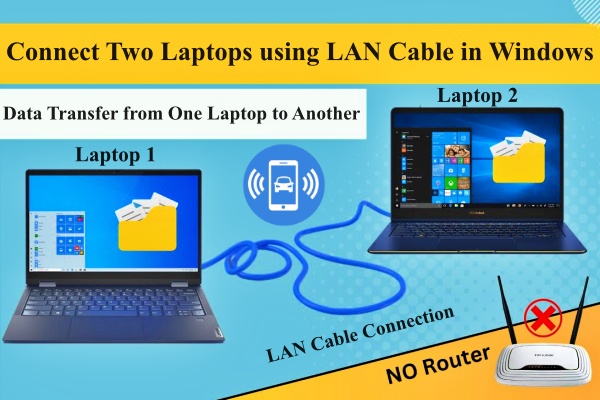
A lot of people face numerous difficulties while transferring data between two laptops. Lack of large removable storage devices means that they have to do the transfers a number of times. However, one easier way to transfer data between two laptops is by connecting them using a LAN cable connection.
It is one of the quickest ways to transfer the data with the help of a consistent connection between two Windows laptops. But connecting two laptops using LAN cables is not a cup of tea for everyone as it requires a little bit of technical skills.
Firstly, it is recommend for all the users to buy a genuine or branded LAN cable for this task. Also, your laptops should be full charged so that there would be no interruption while transferring data between 2 laptops.
Step by Step Guide to Connect Two Laptops Using LAN Cables
If you are searching the answer for the question how to transfer files between two laptops, you can follow the steps in the below-mentioned method to connect two laptops is using LAN cable.
- Purchase a Network Crossover Cable: The network crossover cable is very necessary if you are looking to transfer data between laptops using LAN cable. Either asks for a crossover cable or an Ethernet cable to join the two laptops.
- Plug the Cable into the Network Ports of both Laptops: Insert one end of the Ethernet cable in one of the laptops and the other end to the second laptop. You will hear a clicking noise when the cable is successfully connected.
- Navigate to Control Panel on both the Laptops: Next up, you need to open the Control Panel window on both of your laptops. To do so, just go to ‘Search’ and type in Control Panel and click on the corresponding result.
- Connect both the Laptops to the Same Network and Workgroup: Search for the ‘System’ option in the Control Panel on both laptops to view the information about your computer. Click on the option to ‘Change settings’. On the pop-up menu, enter the same name for the workgroup on both of your laptops. You can choose any name you want as long as it same on both the devices.
- For Windows 8, 8.1, 10 Users: Click on the ‘Network and Sharing Center’ in the Control Panel and select the option to ‘Change Adapter Settings’. You can find these settings on the left-hand side of the window.
- For Windows XP, Vista, 7 Users: You can directly search for the ‘Network Settings’ in the search box on the control panel.
- Local Area Network: After accessing the network settings, right click on the LAN (Local Area Network) option to set-up a LAN to LAN connection. You can find this option under the ‘Network Connections’ window. Select ‘Properties’.
- Internet Protocol Settings: Search for the ‘This connection uses the following items’ menu on the pop-up screen. Click on the ‘Internet Protocol (TCP/I4)’ option under this menu. Finally, click on the ‘Properties’ bar to open a new menu.
- Change the IP Address: In the window that pops up, select the ‘Use the following IP Address’ option. Now enter the below-mentioned values for each PC to connect laptops.
For PC 1:
- IP Address: 192.168.0.1
- Subnet Mask: 255.255.255.0
For PC 2:
- IP Address: 192.168.0.2
- Subnet Mask: 255.255.255.0
Do not enter any values in the default gateway in any of the laptops.
- Save and Apply Settings: Finally, save and apply the settings to successfully connect the two laptops using LAN wire. Now, you would able to transfer the data over the LAN connection cable.
The Last Words
If you are still not able to transfer the data after following the above-mentioned steps, you can also transfer files over Wi-Fi between two laptops. Though, this process may take a little more time than the LAN to LAN transfer.


